DIY Bathroom Painting
If you’ve decided to totally transform your bathroom without dealing with paying full price for a full remodel, there is an alternative solution. You can renew your bathroom without installing new features by using a few handy supplies; a bit of paint and a healthy dose of enthusiasm. This page is dedicated to providing you a complete guide on repainting your bathroom from top to bottom, including walls, tiles, countertops, cabinets, and the flooring. From prepping surfaces, to applying the best type of paint for the surface, and how to ensure your newly painted surfaces remain looking new for years to come.
Before You Start Painting
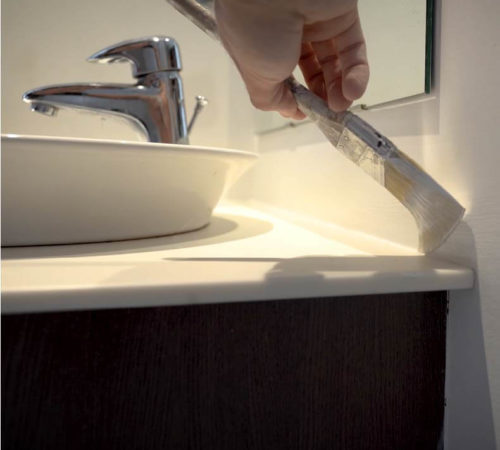
Planning is everything when it comes to DIY bathroom upgrades since you want to make this process as simple as possible. Start with an honest evaluation of what is already in your bathroom and how it serves your current needs. Make a list of things you would like to have, such as built-in conveniences. You should also add to your list -all of the items that you want to replace or upgrade.
After taking a look at your wish list of things that would make your bathroom better, this is where things start to get creative. Begin looking at how you can change the way your bathroom looks including the tiles, walls, and floors. These are elements that would additionally change how your current bathroom is looking likewise. So with all of these separate elements added to your bucket list for dream bathrooms, now comes the hardest decision.
You’ll need to start making these changes by yourself, choosing the right colors, materials, décor items, cabinets, and accessories that will need to be purchased. If you’re smart, you won’t make a bathroom DIY remodel in one day, so- be patient. Wait for sales and discount markdowns, shop around for the best prices, but most importantly, don’t buy cheap items just because it was the cheapest item you could find. Nothing is more important than quality when it’s in your home!
DIY MAKEOVER
Use these guides to completely transform your bathroom without the need to undergo a lengthy and costly bathroom renovation.
Bathroom Interior Design Color Basics
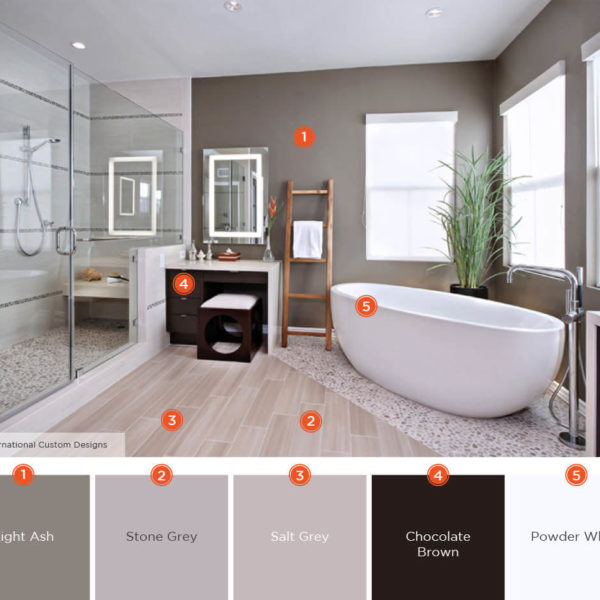
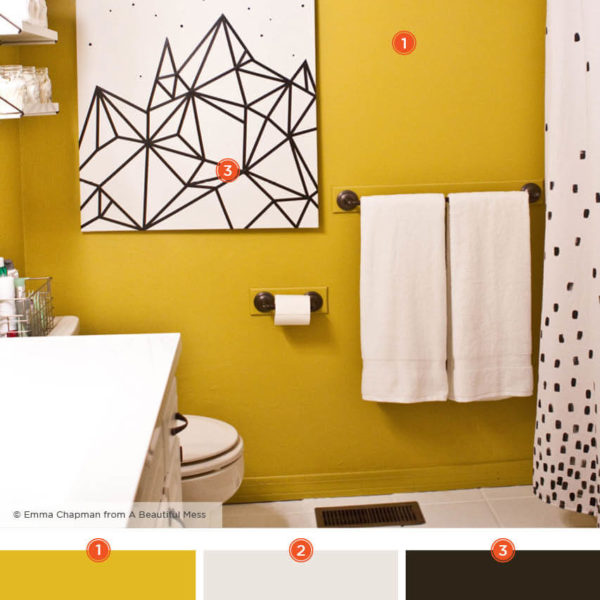
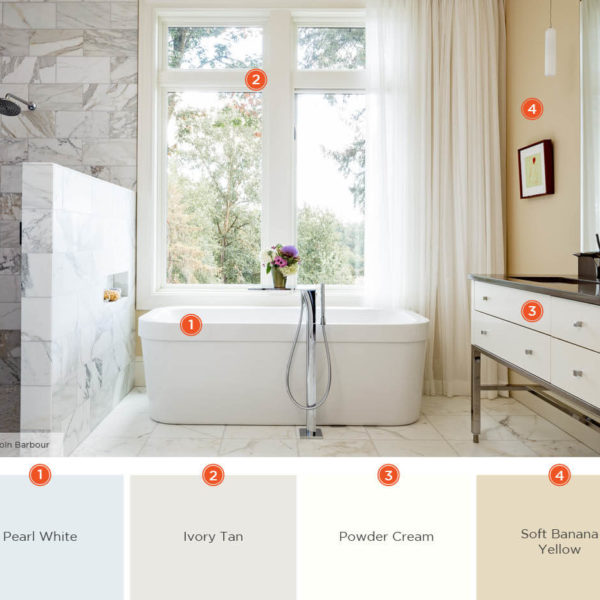
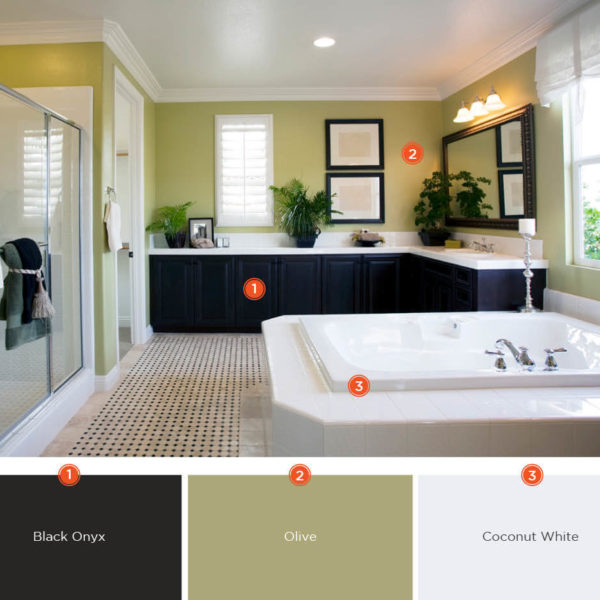
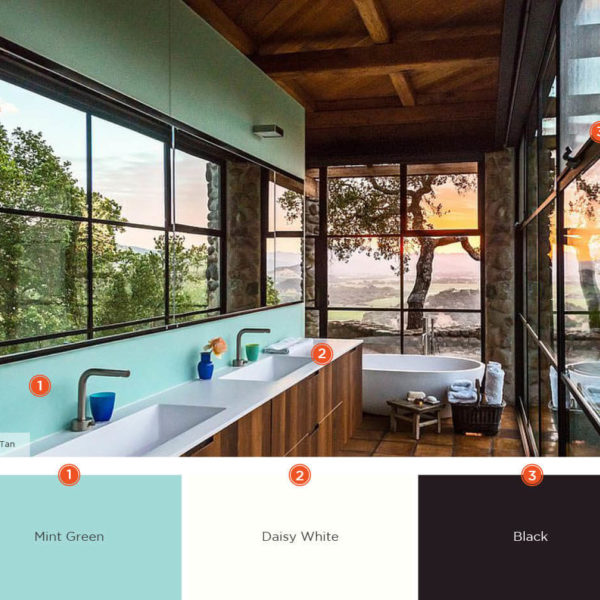
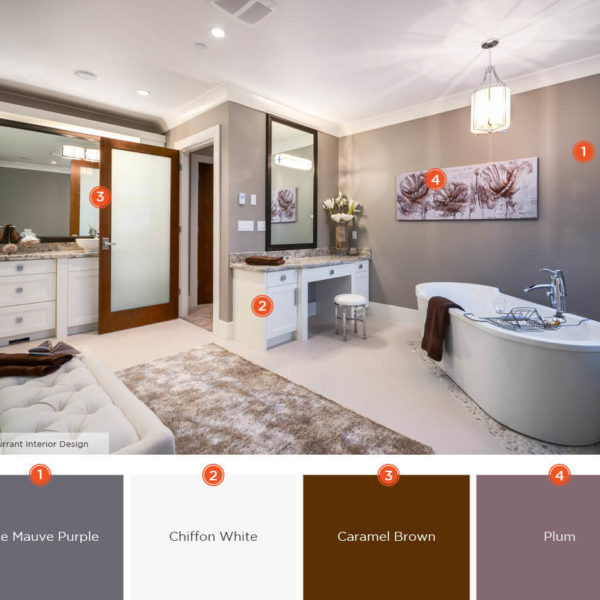
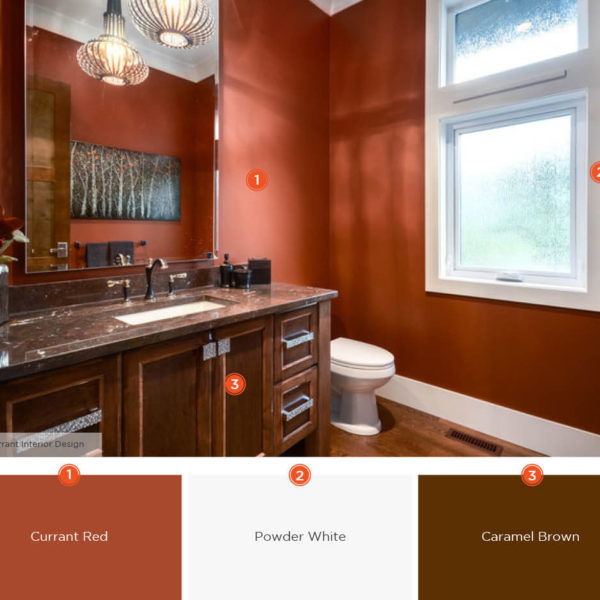
As any bathroom interior designer will tell you, color makes a major difference in how you see things. With just the right colors or combination of colors that are used, this can easily transform ordinary bathrooms into soothing salons or energetically enabling depending on what you’re looking for. Don’t forget that light and lighting will help these colors to feed that feeling and emotion that comes from any visit to your bathroom.
If you’re not so great with colors, start with the basics of looking at a color wheel. Which colors appeal to you the most, so -keep adding colors that you like until you have the best combination that fits your needs. If this includes wallpaper or tiles, start looking at patterns where they’re commonly found including home improvement centers like Lowe’s or Home Depot. Chances are, you’ll find similar items like towels, shower curtains, and accessories that match similarly.
Colors & Color Combinations
If you’re still a little unsure about colors, here’s some advice we would like to share with you. Colors and color combinations have been used for centuries to create ambiance and comfort. There is color in everything that we see every day from what we wear to the color of the products that we buy. The importance of color influences us to feel special and helps set the right mood, but most importantly- it creates a sense of beauty in what we immediately see.
Colors also influence your feelings of status and further create a bigger sense of being, which is why color is also a reflection of who we are. Use your emotions to help influence the right mood for your bathroom using colors by combining as many as you like to get the feeling you want to convey. It’s a little similar to choosing an outfit for a clothing combo where all of the clothing items say something about you- as a person.
Painting Your Entire Bathroom
There is something to be said about painting your walls and bathroom interior that can make a great transformation for the better. Then there are some special exceptions when it comes to repainting tiles, countertops, and cabinets. But that doesn’t mean that painting them with just any old paint is going to do the trick. You need to be aware that there are very important dos and don’ts for these surfaces that need to follow if you decide to re-paint them.
Unlike the materials used for bathroom walls, tiles, and countertops are made from a different kind of material that wasn’t exactly meant to be re-painted. This is not to say that it’s not the easiest way to change their color, but you do need to prepare their surface so that paints will stick to them easier. There are select types of paint that are better suited for sticking to ceramic or plastic composite surfaces that you probably haven’t used before but do the job nicely.
And following a step-by-step process of cleaning and prepping these surfaces before painting them will help allow the paint to stick better as a result. Here’s just a sample of what can be re-painted instead of being completely replaced.
Painting Tiles
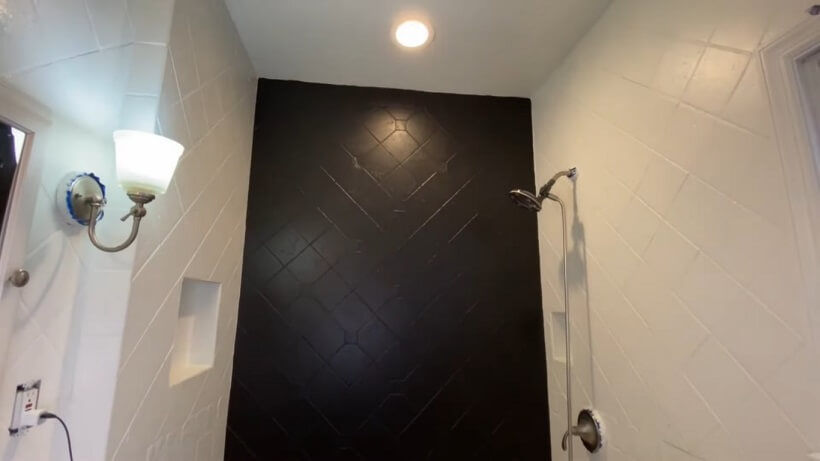
Bathroom tiles are always a welcome addition to any bathroom since they are easy to clean and add a greater sense of cleanliness to floors and walls. Most of the time, people would simply replace these tiles (at great expense) to change the color that they didn’t like. However, new technology for special paint materials has improved so much that tiles can be repainted like new ones with endless color options.
When tiles are repainted correctly using the recommended paint products that bond securely, it’s much more cost-effective than replacing them completely. You can additionally create a color design that you prefer with a bit of patience if you’re looking to make a bold statement with many different colors. But it all starts with the right preparation that will ensure these surfaces stick for longer.
Painting Cabinets
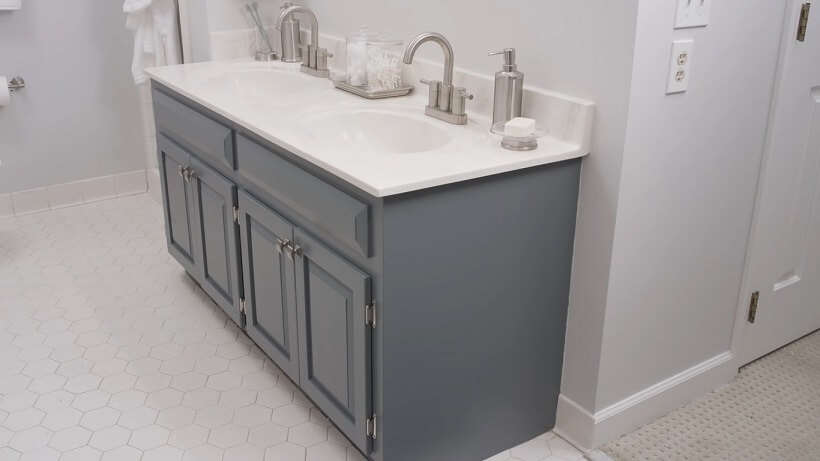
Your bathroom cabinets are more than likely made from wood or composite laminates these days. This makes them ideal candidates for repainting without needing to replace them. After all, a new coat of paint can make them look fresh again or simply change the color that you never liked for so many years. After the right amount of preparation and sanding, you can transform an old and tired bathroom cabinet into a restored masterpiece.
This also allows you to change knobs and handles that will match a bathroom upgrade instead of shelling out more for new cabinets. It might take a little effort and attention to detail while you’re painting, but the results are stunning enough for the fraction of what you would have spent.
Painting Countertops
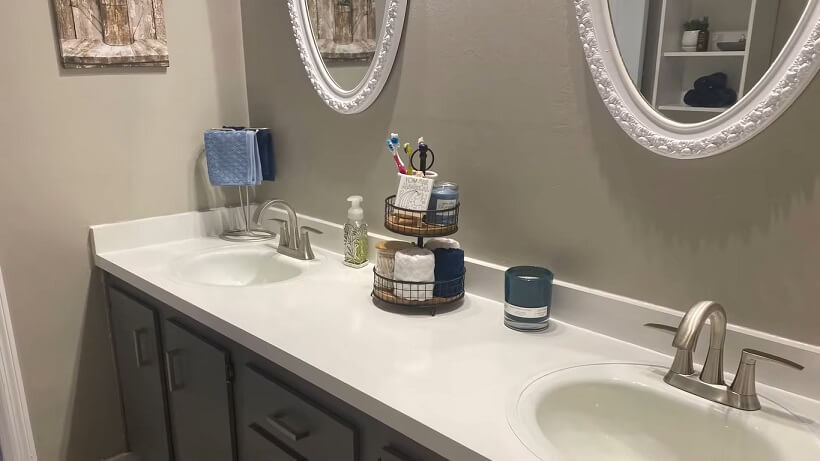
Most people would never imagine that bathroom countertops can be repainted if you have old stone or marble installations. The same can be said about composite resins and fiberglass which are starting to show their age too. But instead of tossing them out and spending more money on a new countertop, why not give these surfaces a repaint that will bring them back to life with a color that you’ll appreciate even more.
The process is simple enough but some rules need to be followed to keep the paint from coming off. It also needs to be well sealed since this is an area where water and moisture will be constant. Once both of these preparations are completed, you can relax easier knowing that it didn’t cost nearly as much as you thought it would repaint. There are even paint tricks that allow you to simulate marble and stone if you’re looking for a natural look.
Painting Tub/Shower
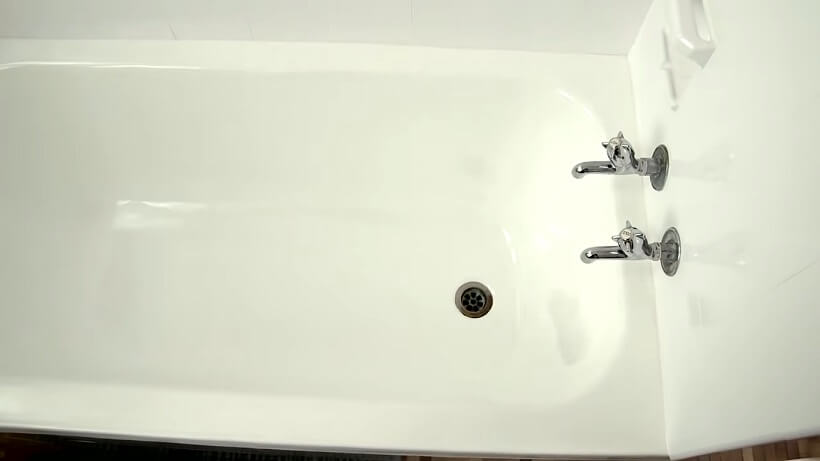
Back in the old days, it was very expensive to call a professional to come and repaint your tub or shower. Now, it’s become simplified for DIY folks to find paint products that you can purchase at any home improvement outlet. These paint systems are specially formulated to resist water being that they’re epoxy-based and come in a wide variety of colors as well. If you have a tub or shower that isn’t looking so hot anymore, perhaps it’s time to take the steps and do it yourself.
You’ll be amazed at the finished results that can finally give you the modern look that looks as if it was professionally done. And if you follow the steps that we provide, you’ll get perfect results even if you’re a total beginner at bathroom upgrades.
Updating The Fixtures & Accessories
Another aspect of fixing up your bathroom is often overlooked simply because it doesn’t sound so important. You can make a really big difference by getting a fresh look simply by replacing or upgrading smaller accessories and fixtures. These include handy items like towel racks, portable storage shelves, and bathroom fixtures like faucets or showerheads. Just adding any combination of these is enough to add more comfort and luxury to your existing bathroom.
But by adding these at the right time when you make a bathroom DIY upgrade, you get a stunning and visually different look that matches all of the new colors you choose. Even if you’ve decided to repaint fixtures in your bathroom, new additions will only strengthen the finished look. And with so many new styles that are offered for accessories and fixtures these days, it’s possible to do this, even with tight budgets.
FAQs
What color should I paint my bathroom walls?
You can choose any color that you like the most but it should be a color or combination that is special for you. Everyone has individual tastes for colors that look appealing and most of the time this works for items such as clothing or cars, but for bathrooms-it’s always personal. Many people prefer lighter colors which give a small bathroom the illusion that it’s roomier. This will also depend on the lighting inside a bathroom that isn’t giving you enough coverage…
It’s always best to start collecting colors that you like and see which ones would look good for your walls. If you aren’t satisfied, you might select more than one color to get a layered two-tone effect instead. Either way, the color that you choose should be a color that gives you inspiration for your bathroom which makes this room more unique than other rooms in your home.
How do I choose a color palette for my bathroom?
Color palettes are easy to assemble when you visit any paint store that hands out small strips of paper called ‘paint chips’ These are samples that include shades of a particular color that can be mixed from primary colors. These ‘chip’ samples are perfect when you’re getting ideas for painting your walls and make it easier when it comes time to get an exactly matched color sample that you decide on using.
What colors go best with white tile in a bathroom?
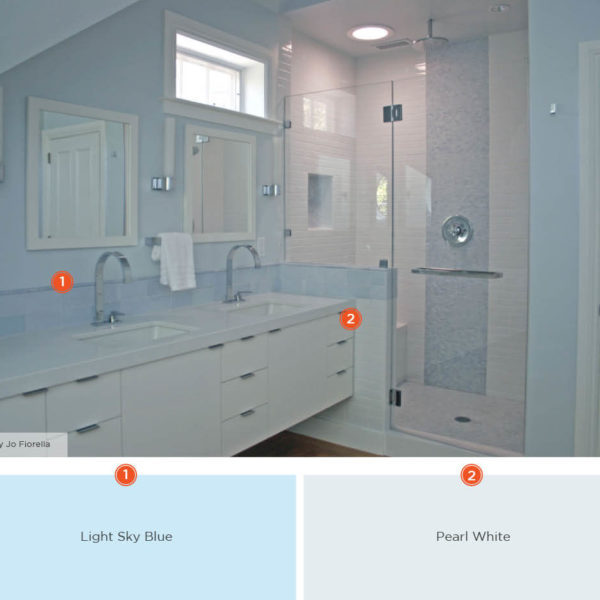
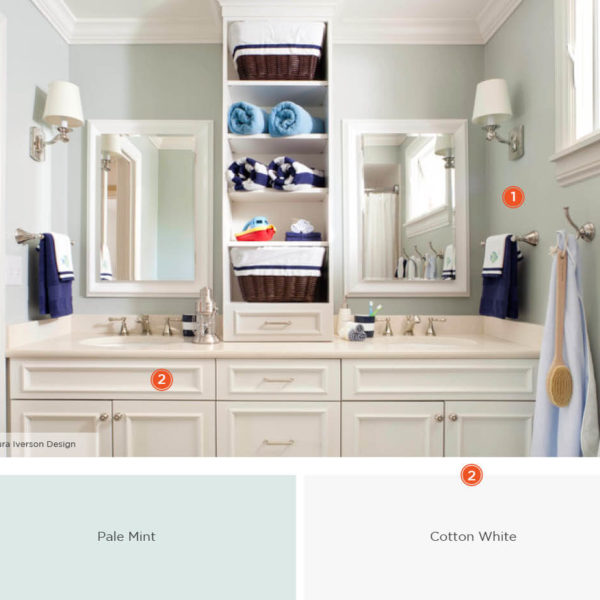
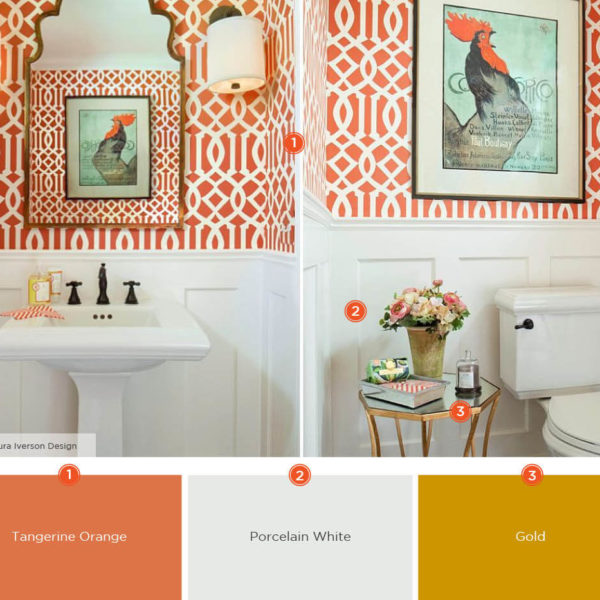
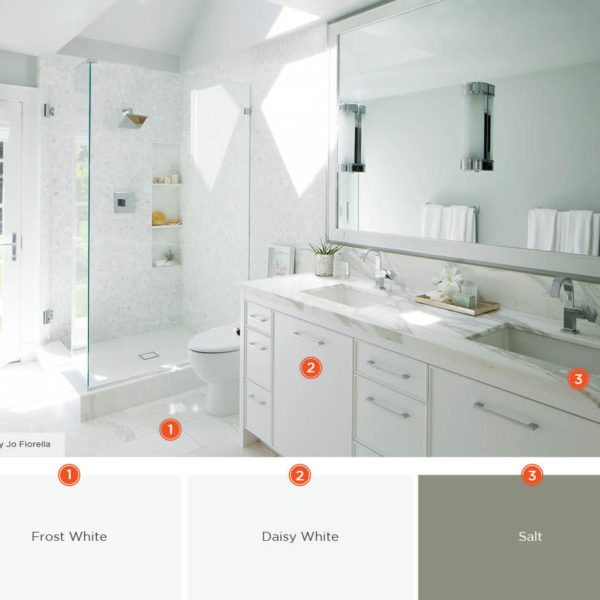
Nearly any light shade of natural color goes perfectly with white surfaces. These are colors that aren’t exclusively pastels and often include earthy tones including light brown to creamy colors. If you choose blues or reds, these make bolder colors that liven-up white tile, so they should also be a shade that stands out rather than being muted. It also depends on the lighting to give darker shades better illumination.
Can different tiles be used to create a unique pattern on the floor or wall?
While most bathrooms don’t include mosaic patterns, it depends on the theme that you’re looking to achieve. Checkered patterns are always classic since these create great contrast between two colors that don’t always require being simply black or white. If you do decide to go for something bolder, random patterns using decorative tiles can make your walls more interesting to look at.
It all depends on what you’re looking to put on your walls or flooring, so having ideas or pictures that you collect will help to create a tile pattern that you’re happy with.
Does grout need to be sealed after painting the tiles?
Grout will always be better if you seal it after the tiles are painted since the paint that goes over your tiles is likely to go onto the grout surface likewise. Since your bathroom can be a place where moisture is higher, sealing these surfaces will keep moisture from ruining the paint that’s applied. Always be sure to use a sealer to protect the paint afterward since this adds an extra layer of moisture resistance that can last for years.
What colors go best with bathroom cabinets?
It’s always a good idea to have cabinet colors that are separating colors within your bathroom. You don’t want cabinets to blend in with the same room color tones either, so using colors that are slightly darker than wall colors is highly recommended. Think of this as playing with opposite colors that help cabinets and other elements in your bathroom easier to spot. If everything is using the same color palette, the colors will need to be in various shades so you can visually separate everything by sight.
Should I use a glossy or matte finish for my cabinets?
Glossy finishes always give everything a brand-new appearance in addition to looking more luxurious. The only problem with this is that gloss surfaces also need more attention when it’s time for cleaning, so you usually see fingerprints or smudges left behind after a while. If you go with a matt finish, this is easier to clean and less problematic for spotting fingerprints or splotches.
For a happy medium, you can choose satin finishes or semi-gloss that give just enough shine but isn’t causing too much reflection off their surfaces due to bright lights. Just keep in mind that glossy finishes tend to cost more than semi-gloss or matt finishes unless you are adding a sealer that adds this ultra-shine over any painted fixtures like cabinets or countertops.
Should I remove the old finish first or just paint over it?
Before painting anything in your bathroom it’s always best to pre-sand the item so you can get new paint to stick to it better. If you don’t, the paint can chip off faster or not stick at all because the surface isn’t properly prepped. This is why adding a primer over a sanded surface will further allow you to paint a surface color and get the exact results that you want without the under color showing through.

